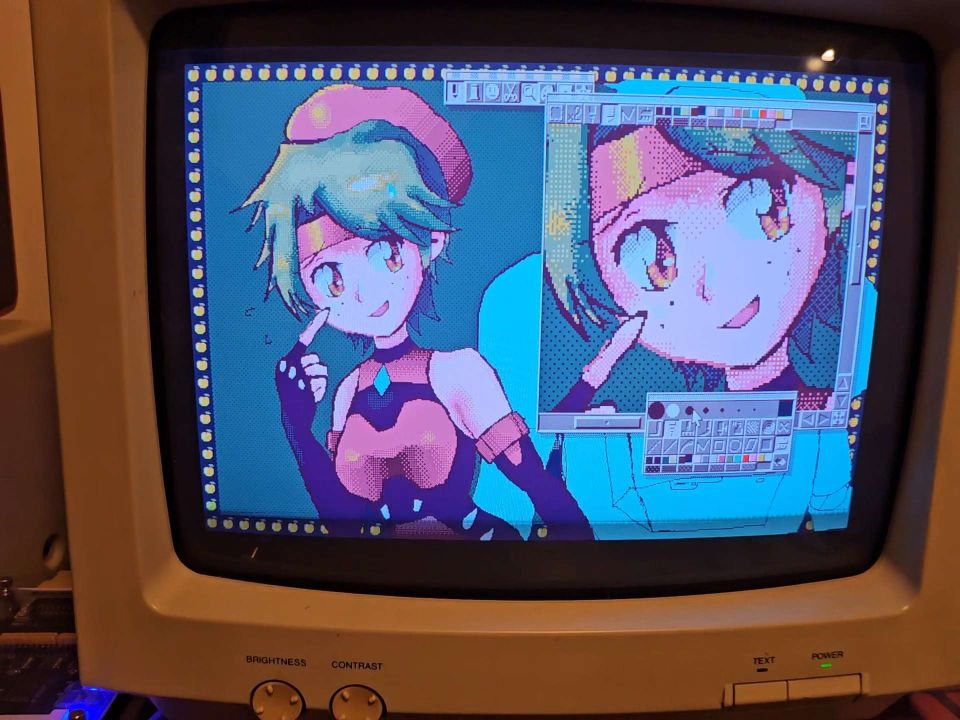
PC98 pixel art looks cool, right?
![]()
My first exposure to this style of pixel art was far before I knew what a PC98 was, when I played the DOS port of Princess Maker 2 as a preteen. I was so fascinated by the way the CGs looked that I painstakingly went through the game triggering every event just to take a screenshot of every unique piece of art and keep in a folder to look at. I didn't understand why it uses that weird "crosshatched" coloring style or why I was so fascinated, just that it looked completely different from any other game I'd seen before.
Like my childhood self, many seem to admire art on the system without fully understanding what differentiates it from other 16- or 32- bit styles or the hardware limitations that lead to it looking the way it does. All pixel art, PC98 or otherwise, is the product of hardware limitations -- namely, low resolution and a limited color palette. The PC98 has two major features setting it apart from other 16-bit systems: Its high resolution allowing for a greater amount of detail, and its extremely restrictive limitation of 16 onscreen colors total as opposed to 16 per sprite/tile.
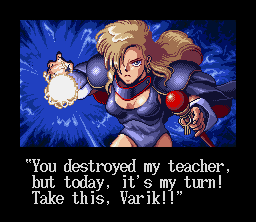
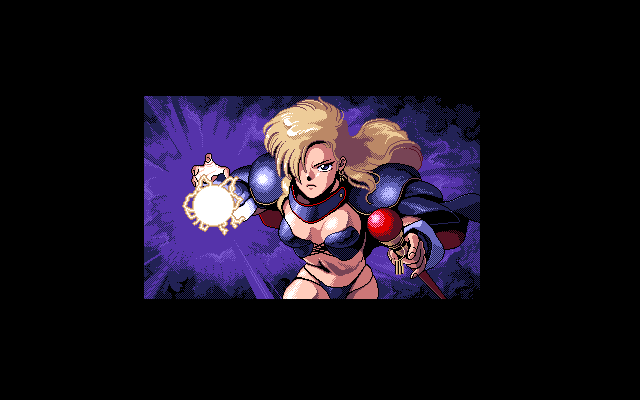
A CG from Brandish on SNES and PC98 respectively -- the higher resolution should stick out first, but also note how the illustration economizes on its palette by having the background share colors with Dela's outfit.
To give the illusion of a fuller spectrum of colors and smooth shading with the unusually limited color palette, artists used techniques like dithering -- splicing two colors together with various dot patterns to trick the brain into thinking it's seeing more colors than it actually is. This is without a doubt the most unique feature of art for the system, as other systems had neither the screen real estate for complicated gradients nor the need to stretch their budget of colors as far as they could.
I once had to correct someone who thought that every single dither was hand-placed, and it seems like this is a surprisingly common misconception! While 90's art programs definitely lack a lot of the conveniences of modern ones, such as layers, artists certainly didn't have the time on their hands to meticulously plot out thousands of dots one by one to create gradients on such large images. If you want to know how to achieve an authentic PC98 pixel art style, what better way to demystify it than to try out some of the tools that were actually available to artists at the time?

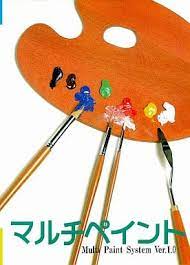
There's a few basic paint programs floating around that all have a similar toolset, but I'll be focusing on one called Multi Paint System, a tool by C-Lab (the creators of Rusty and Totsugeki! Mix among others).
This tool doesn't self-boot like many PC98 games do, so you'll need to boot into DOS first and run it.
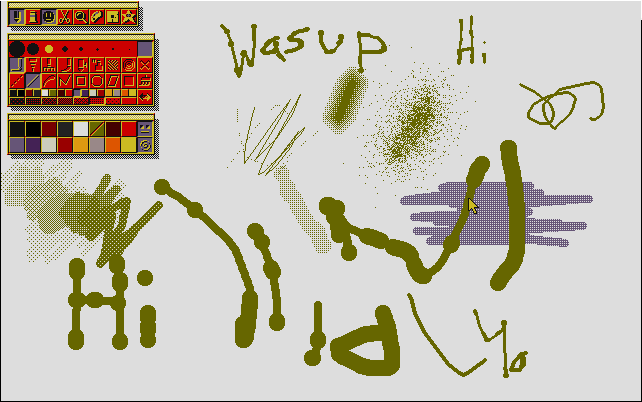
This is what we're greeted with upon running MPS.exe. You could start drawing now if you wanted, but you may want to do what many artists at the time did and scan in a black and white sketch to color it in.
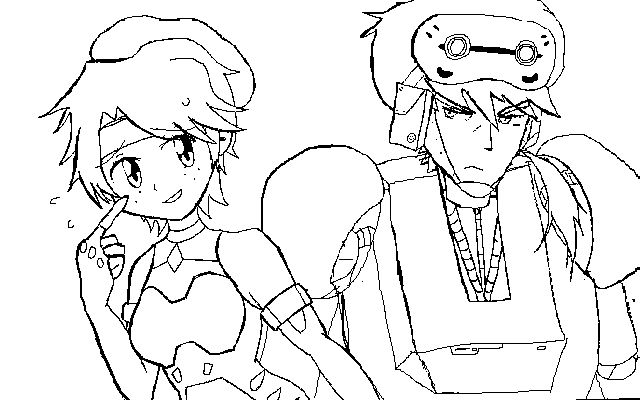
Since I don't have a scanner for the PC98, I drew the sketch on paper, scanned it on my regular desktop setup, resized it to the PC98's native resolution of 640x400, then converted it to black and white lineart by increasing the levels and indexing the colors, giving me the following image.
Unfortunately, the program doesn't support common image file formats like .JPG, .PNG, etc. You will need to convert it to MAG (Maki-Chan Graphics) format in order to edit it. MAG is ridiculously common when it comes to PC98 image data. The ability to convert to and from this format is indispensable. I had to do this conversion when making wallpapers for FILMTN and spritesheets for RPG Maker Dante as well.
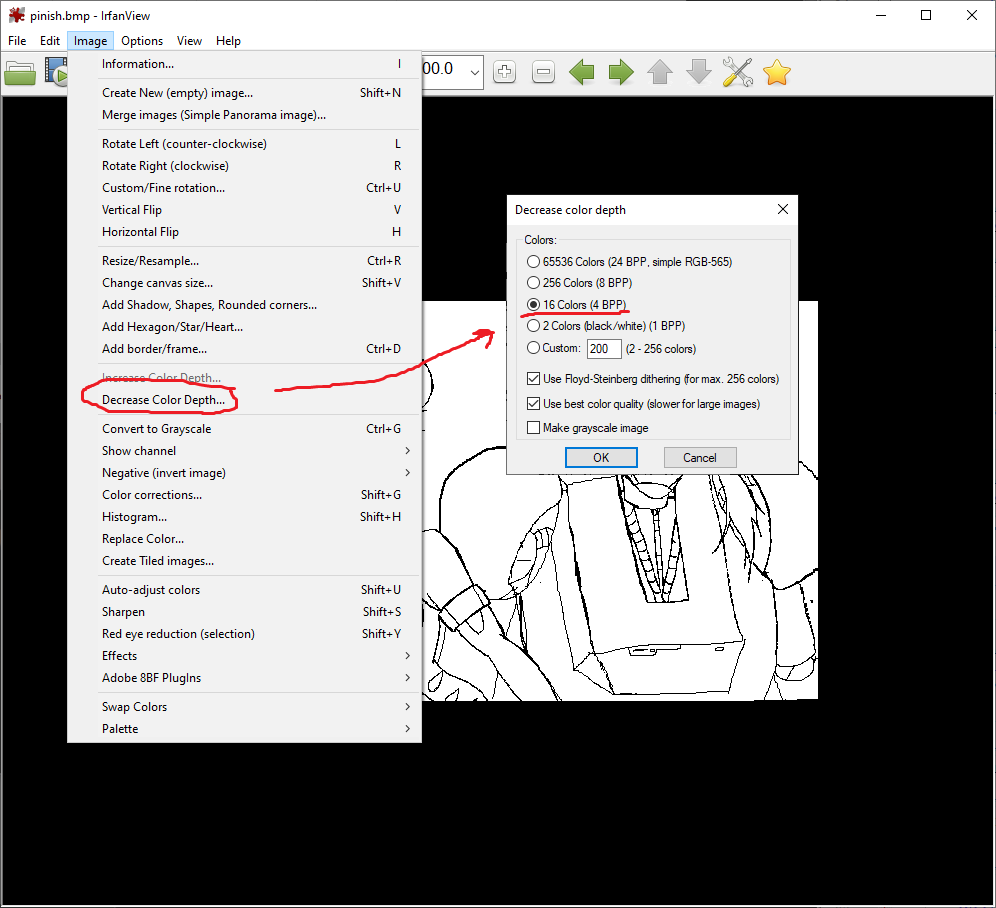
First, you'll want to index the colors in your image and save it as a .BMP file. You can do this quickly in Irfanview, which is also my default image viewer of choice. I highly recommend using it as it's lightweight and good for a lot of simple tasks like this.
The simplest way to do this is to download a command line tool called MG, which you can get here, and run it inside PC-98 DOS. Just drag this program onto a disk image, put the image you want to convert in the same folder, boot up DOS in your emulator and navigate to the directory, then type mg .mag [filename].bmp.
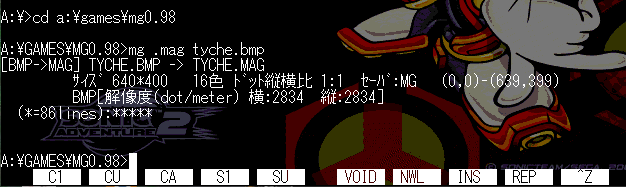
If all goes well, you should have a MAG image readable by the editor to load up and play with in an emulator or on hardware!
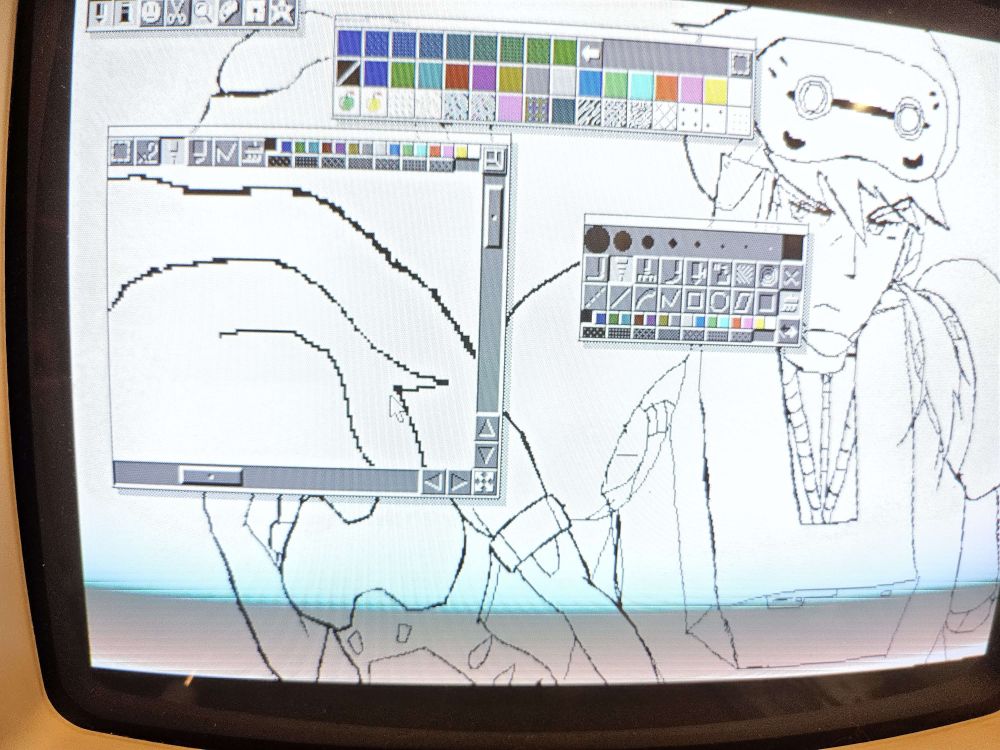

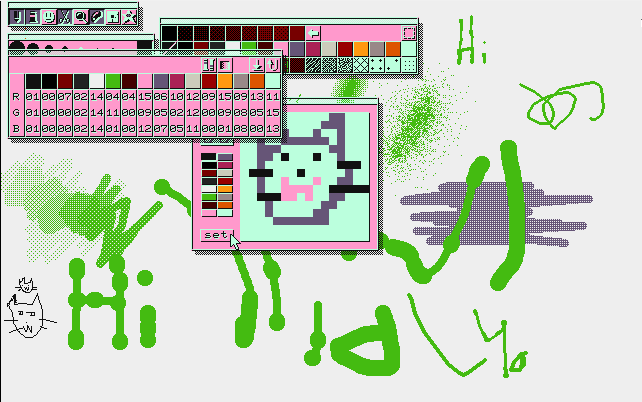
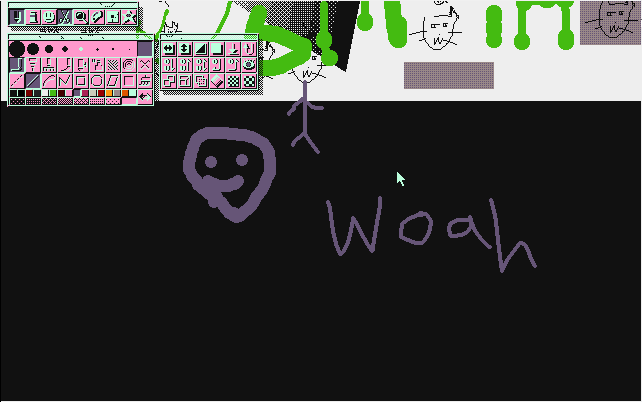
Now for a walkthrough of what different tools the program has to offer.
(Ignore the odd palette -- I had a Shadow the Hedgehog wallpaper loaded in before this and cleared the canvas instead of creating a blank file, so the palette data from that was carried over. :p)
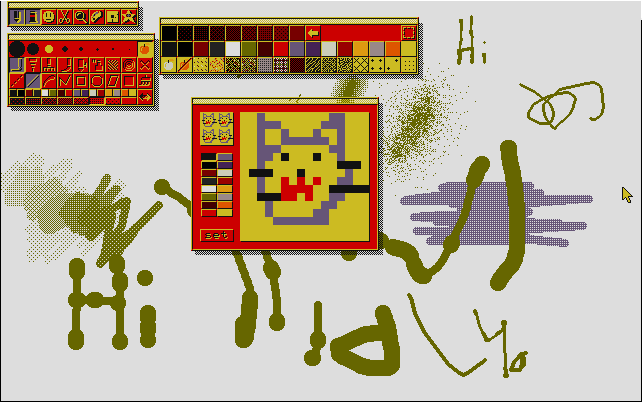
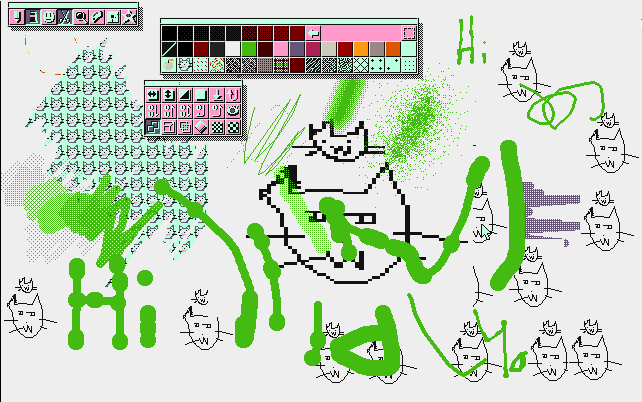
The pencil icon allows you to select brushes. In addition to the basic bitmap brush, there's also an airbrush, watercolor (?) brush, a calligraphy brush, and shape tools. The large paintbrush icon at the very end is a fill bucket tool.
There's a "quick menu" on the bottom that lets you select a color as well as different levels of dither, which makes shading a cinch!

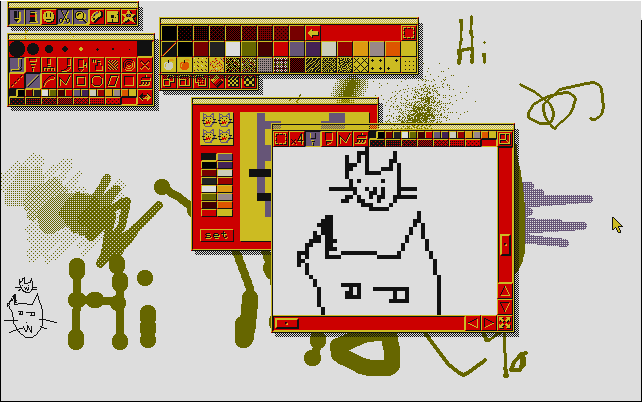
The little face is for the "mask" feature (get it?). It lets you choose a color (or multiple) to ignore when painting. That means you can color and shade without having to worry about drawing over the lines! With this, you can effectively differentiate between lineart, color, and background/foreground without actual layers.
Selecting the paint tube icon shows you your colors and dithers, but also some preset patterns. Left clicking these lets you draw your own.
The magnifying glass lets you toggle between x2 and x4 zoom for any detailed pixel work you need to do like anti-aliasing lines.
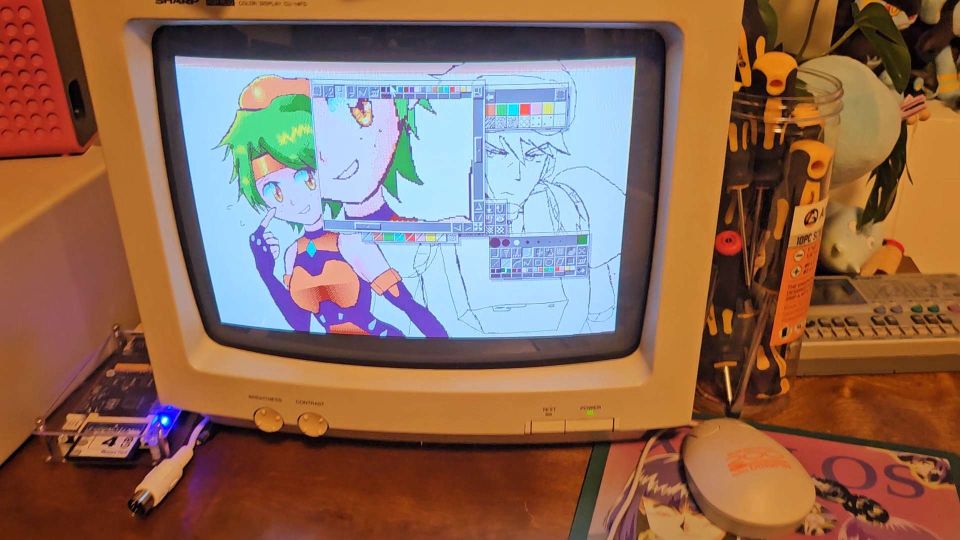
The palette icon lets you edit the palette... obviously. Since there are only 16 onscreen colors, things you've already drawn will change as you fiddle with it, which is nice as it lets you tweak things in real time.
The scissors icon is where your basic cut/paste and transform features are, but there's also some other useful features like invert, gradient, and blur tools. You can also quickly save and revert your image using those arrows on the top right, which is as close as you're going to get to an "undo" button.
Copying and pasting + resizing a selection
Gradient tool
Blur selection
Multi Paint System also lets you make "long" CGs, which are actually 2 MAG files stitched together. The second row of icons in this menu lets you nudge the picture around and preview what it will look like when combined.
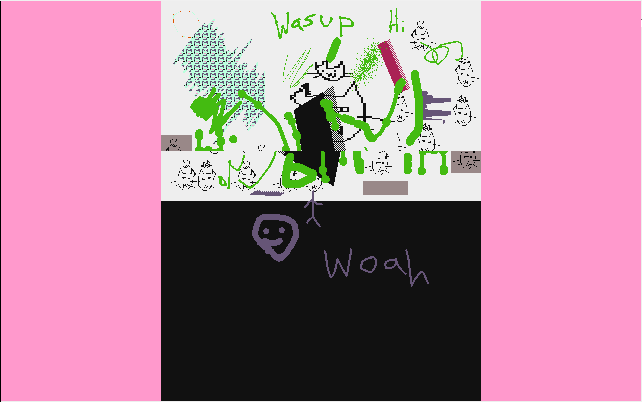
The floppy disk icon lets you save/load files. Notice how it's a 5" floppy disk -- after a lifetime of conditioning to associate the 3'5" diskette with "save", before this I'd never even thought about what the icon must've looked like before that became the standard!
Now for the fun part, the little star icon -- this is where effects are! I won't show them all, but there's a bunch of neat post-processing you can do to your image. Some of these plugins came bundled with the program, while others came as part of expansion packs sold by the company.

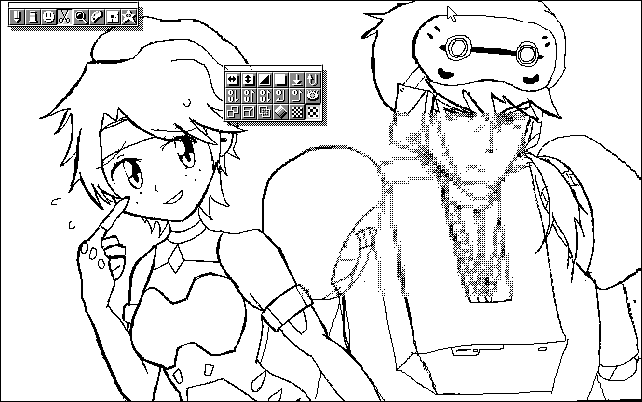
Find Edges
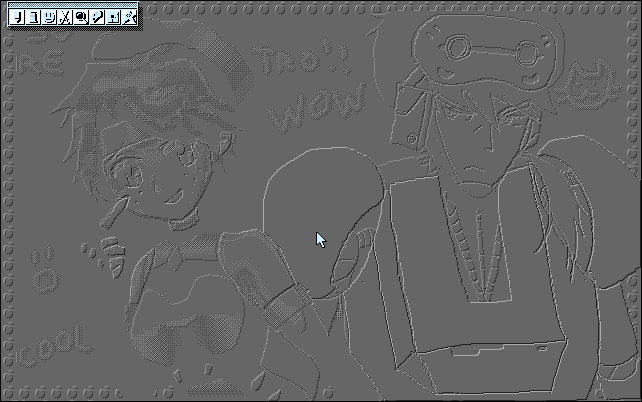
Relief
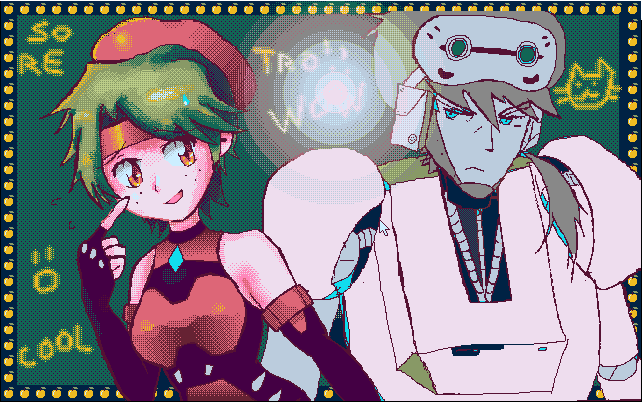
Lens Flare - my personal favorite

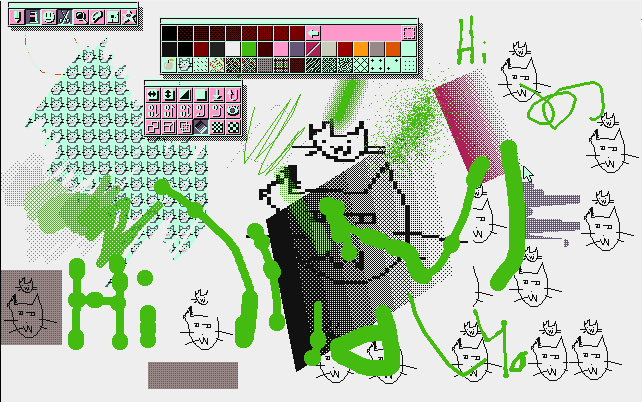
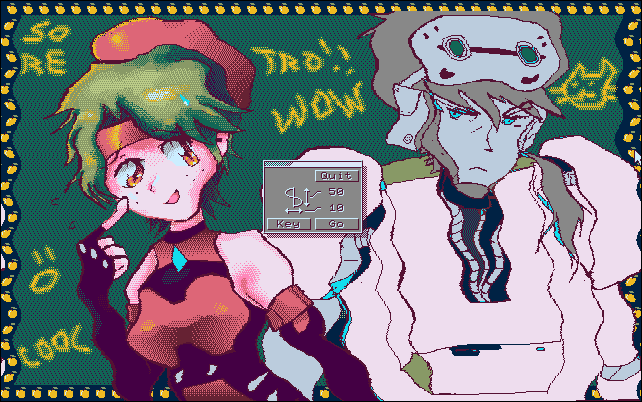
An algorithmic shading tool that extrudes a color gradient from lines in the direction you select. Wow!!

Sharpen
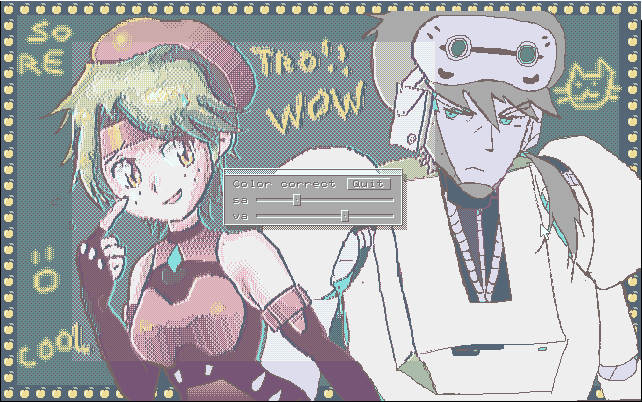
Color correction: just basic saturation/brightness, but that's not to be taken for granted when working with a 16-bit palette!
Perspective deform
"Raster scroll" - does this funky wave effect
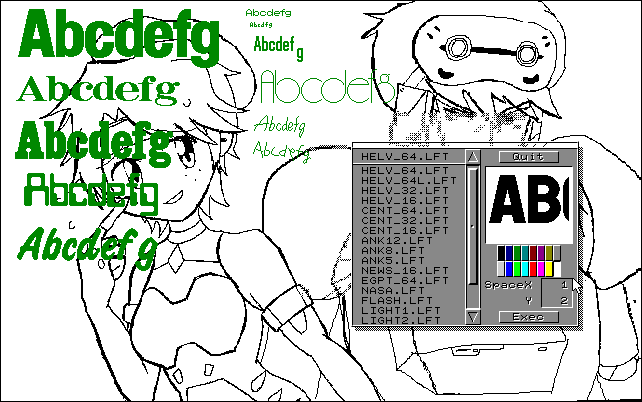
Text input with bitmap fonts
These are bread and butter as far as modern art programs go, but I was definitely shocked to see these features on such an old program!
Finally, MPS also had a mouse recording extension that was used to create in-store demos to showcase the software. This is the autodemo for the Multi Paint System Otanoshimi Set expansion pack, which shows off what drawing in it looks like in action far better than I can!
 BACK
BACK 98 HOME